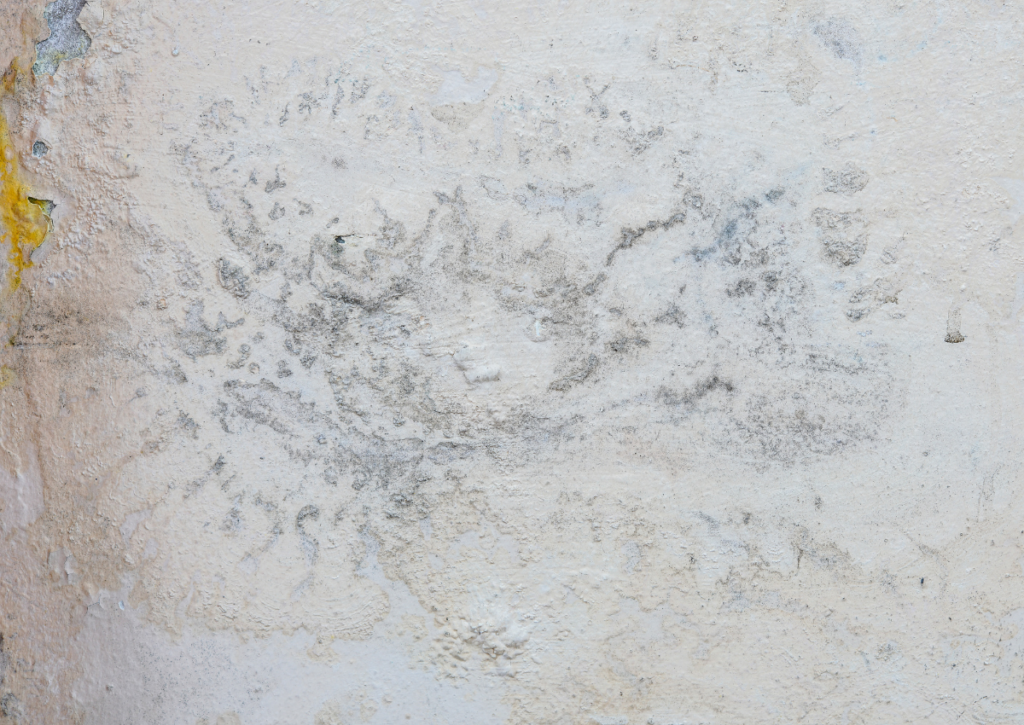
Have you noticed bubbling or blistering paint on your home’s exterior or interior walls? In Jenks, OK, the combination of changing weather conditions, humidity, and temperature swings can contribute to this common issue. While paint blisters are unsightly, they can also indicate deeper problems, like moisture buildup or poor paint application.
To help maintain your home’s appearance and prevent long-term damage, it’s important to understand what causes paint to blister and how to avoid it. This blog will explore common causes of paint blistering and practical steps you can take to fix and prevent it.
Key Takeaways:
- This blog explains what causes paint to blister and the underlying reasons for paint bubbling.
- Common causes include trapped moisture, low-quality paint, or improper surface preparation.
- Practical solutions like proper priming and using high-quality paint can prevent future paint blisters.

What Causes Paint to Blister?
Paint blisters form when the paint loses adhesion and separates from the underlying surface, creating pockets of air or moisture beneath the paint film. These blisters can range in size and often lead to peeling if not addressed properly. Whether caused by moisture, heat, or improper house painting application, it’s important to tackle the problem before it worsens.
Let’s discuss even further what causes paint to blister and how to prevent it:
Moisture Trapped Beneath the Paint
One of the primary reasons paint blisters is due to moisture getting trapped under the paint layer. This often occurs when paint is applied to a surface that isn’t completely dry, or when humidity levels are high during the painting process. In Tulsa, OK, where summer humidity can be intense, it’s important to ensure surfaces are fully dry before applying any paint. If moisture becomes trapped, it will push against the paint as it evaporates, leading to bubbling and blistering.
Roof or Plumbing Leaks
Leaks from roofs, windows, or plumbing fixtures can allow moisture to seep into your walls, causing paint to blister over time. If blisters appear near the ceiling, around windows, or along walls where plumbing is present, it’s a sign that there may be a hidden leak. Addressing these leaks before repainting is essential, as the issue will likely return if the underlying moisture problem is not resolved.
Low-Quality Paint or Poor Application
Using low-quality paint or improperly applying paint can also result in paint blistering. Inferior paints lack the strong binders necessary for proper adhesion, making them more prone to bubbling, especially when exposed to the elements. Applying thick layers of paint or failing to allow each coat to dry fully before adding the next can trap air or moisture beneath the surface. For a durable, smooth finish, always opt for high-quality paint and follow proper painting techniques.
Heat and Direct Sunlight
Knowing the best time to paint outside is also important. Painting in direct sunlight or extreme heat can cause paint to blister. When the paint dries too quickly due to high temperatures, solvents in the paint evaporate unevenly, trapping air pockets beneath the surface. This is common during hot summer afternoons, where heat can cause premature drying. For best results, paint in the cooler parts of the day, such as early morning or late afternoon, to avoid heat-related blistering.
Incompatible Paint Types
Switching between incompatible exterior paint types without proper priming is another frequent cause of paint blistering. For example, applying latex paint over an oil-based paint without a primer can lead to poor adhesion, resulting in the top layer bubbling or peeling. Always use a primer when changing paint types to ensure a smooth, even bond.
Over-Thinning the Paint
Excessively thinning paint weakens its ability to adhere to surfaces, making it more susceptible to paint blisters. Thinning the paint too much reduces its strength and allows air to become trapped beneath the paint layer as it dries. Follow the manufacturer’s guidelines for thinning to maintain the paint’s integrity.

How Impressions Painting Fixes Paint Blisters
What causes paint to blister? At Impressions Painting, we don’t just cover up blistered paint—we identify the cause and provide a lasting solution. Here’s how we fix paint blisters:
Step 1: Removing Blistered Paint
We begin by scraping away all blistered and damaged paint using professional tools. It’s essential to remove every section of affected paint to ensure the new paint bonds properly with the surface.
Step 2: Sanding and Cleaning the Surface
Once the damaged paint is removed, we sand the surface to ensure it’s smooth and even. A clean, smooth surface is critical for proper paint adhesion. After sanding, we thoroughly clean the area to eliminate any dust, dirt, or debris that could interfere with the new paint.
Step 3: Identifying and Addressing the Root Cause
We take the time to determine the root cause of the paint blistering. If moisture from a leak is to blame, we’ll help you locate and repair it. Whether it’s a roof, window, or plumbing issue, addressing the moisture source is key to preventing future paint blisters.
Step 4: Applying a High-Quality Primer
Before painting, we apply a high-quality primer to the surface. Primer helps the paint adhere to the surface and prevents future blistering. If necessary, we use spackle to even out any areas where blisters were removed, ensuring a smooth finish before priming.
Step 5: Repainting with Precision
Finally, we repaint the area using thin, even coats of high-quality paint. Multiple thin coats allow for proper drying and reduce the risk of air bubbles. For a seamless look, we often paint the entire wall or section to ensure color consistency and a flawless finish.
How to Prevent Paint Blisters in the Future
By understanding what causes paint to blister, you can take steps to prevent it from happening again. Here are some tips to keep your paint job looking fresh:
- Proper Surface Preparation: Always clean and dry surfaces thoroughly before painting. This prevents moisture and debris from becoming trapped under the paint and causing blisters.
- Use High-Quality Paint: Opt for premium paints designed for long-lasting performance. Low-quality paints are more prone to blistering, especially in changing weather conditions.
- Apply Thin, Even Coats: Avoid applying thick coats of paint, which can trap air and moisture. Instead, apply multiple thin layers, allowing each one to dry fully before adding the next.
- Paint in the Right Conditions: While summer is ideal for exterior house painting, avoid painting during the hottest part of the day. Early mornings and late afternoons are the best times to paint, as the heat is less intense and the paint has time to dry evenly.
Final Thoughts
Knowing what causes paint to blister allows you to take preventive measures to avoid these common issues. From trapped moisture to improper application, addressing the underlying causes of blistering will keep your home’s paint job looking smooth and fresh for years to come.
At Impressions Painting, we specialize in fixing and preventing paint blistering, ensuring your home gets the attention it needs for long-lasting results. Whether you live in Bixby, OK or the surrounding areas, our team is ready to help.
Call us today at 918-842-7006 for a FREE estimate, and let’s get your home looking its best!


